ClonerAlliance UHD Pro using tips: How to playback the recorded video files on the USB storage device?
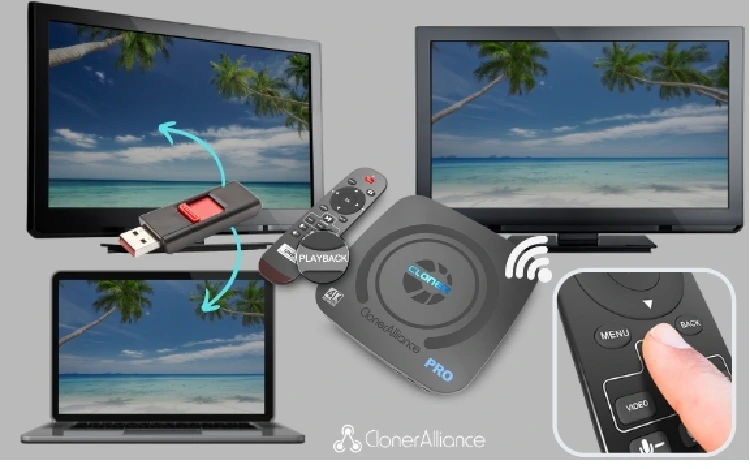
Generally, a standalone HDMI video recorder is equipped with two recording modes, PC mode and PC-Free mode. The former mode is to directly connect PC for video recording, and the latter is to insert a USB flash drive or mobile hard disk into the video recorder, where the video will be recorded and saved, without a PC. If you choose to record the video to the USB flash drive, it can be played directly without transferring the USB flash drive to PC for playback. At present, only ClonerAlliance Box Pro, ClonerAlliance UHD Pro and ClonerAlliance UHD Lite (discontinued) support PLAYBACK function.
Then how many ways are there for video playback?
There are usually 3 ways for video playback: playback with ClonerAlliance UHD Pro remote, playback on TV and playback on PC.
Playback with ClonerAlliance UHD Pro remote
Please make sure the USB storage device is inserted into ClonerAlliance UHD Pro when using this method.
Step 1: Press “VIDEO” or “IMAGE” button on the remote to enter the Playback OSD.
Step 2: Press Up or Down to choose the recorded video files recorded on the USB storage device.
Step 3: Locate your desired video file and press “OK” to playback.
Step 4: Press “BACK” to close the Playback OSD.
Playback on TV
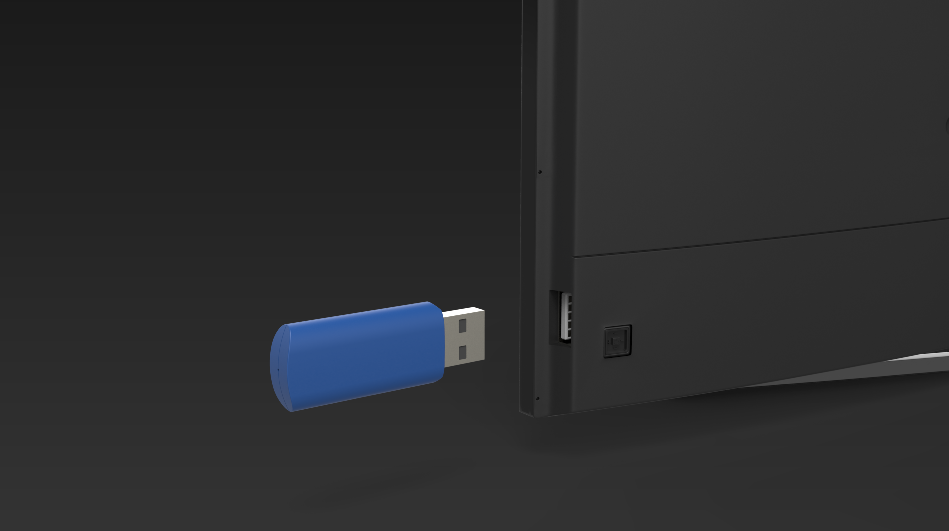
Step 1: After video files are successfully saved to your USB flash drive, please remove the USB flash drive from ClonerAlliance UHD Pro and plug it into the USB socket of a smart TV which has built-in media file playback function.
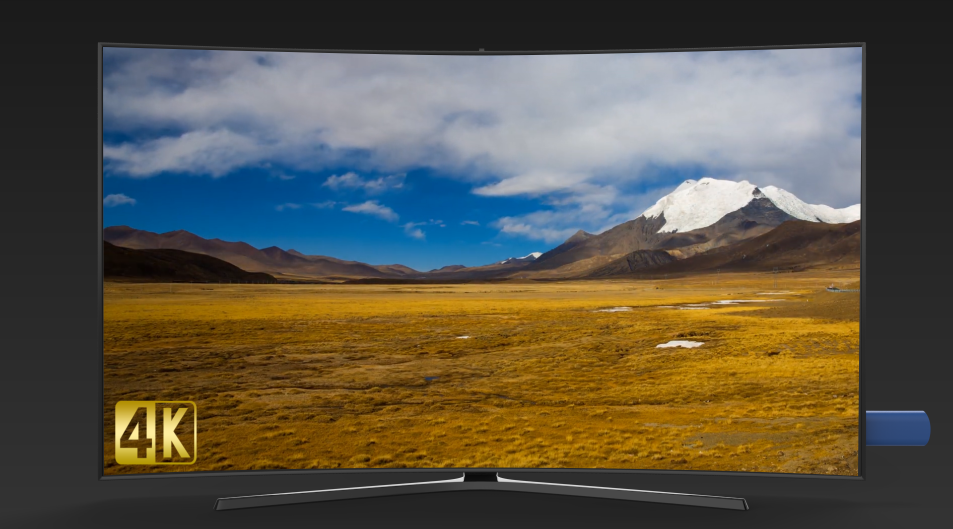
Step 2: Launch the USB device on smart TV, then playback the video files recorded by ClonerAlliance UHD Pro.
Playback on PC
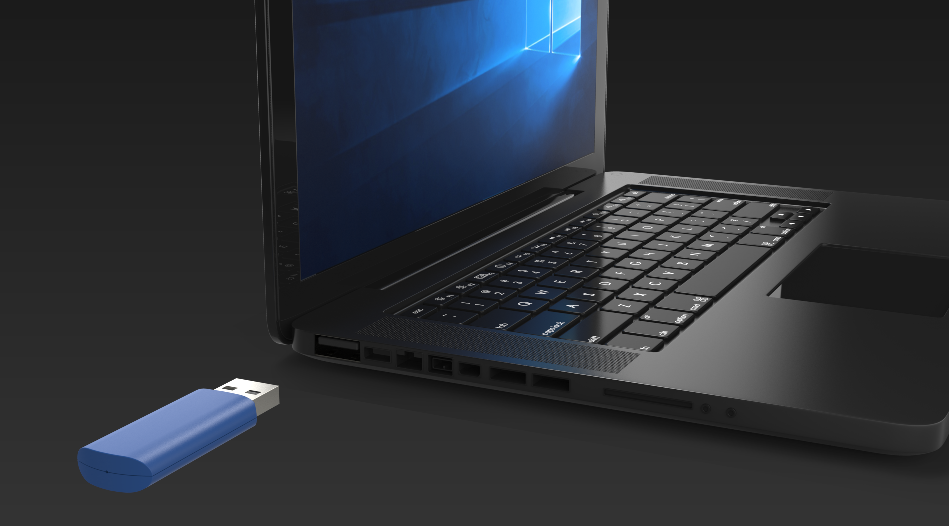
Step 1: After video files are successfully saved to your USB flash drive, please remove the USB flash drive from ClonerAlliance UHD Pro and plug it into the USB socket of PC. The media player software is required.
Step 2: Launch the USB device on PC, then playback the video files recorded by ClonerAlliance UHD Pro with media player software.
