How to capture and record 4K video from the camera with ClonerAlliance Helper?
Currently, most video capture software does not support 4K recording. However, ClonerAlliance Helper is one of the few which provides 4K recording function, regardless of whether the camera supports 4K output, you can record in 4K format.
Then how to record 4K video with ClonerAlliance Helper?
- Download and Install ClonerAlliance Helper
First we need to download and install the latest version of ClonerAlliance Helper software.
- Launch ClonerAlliance Helper and turn on the camera.
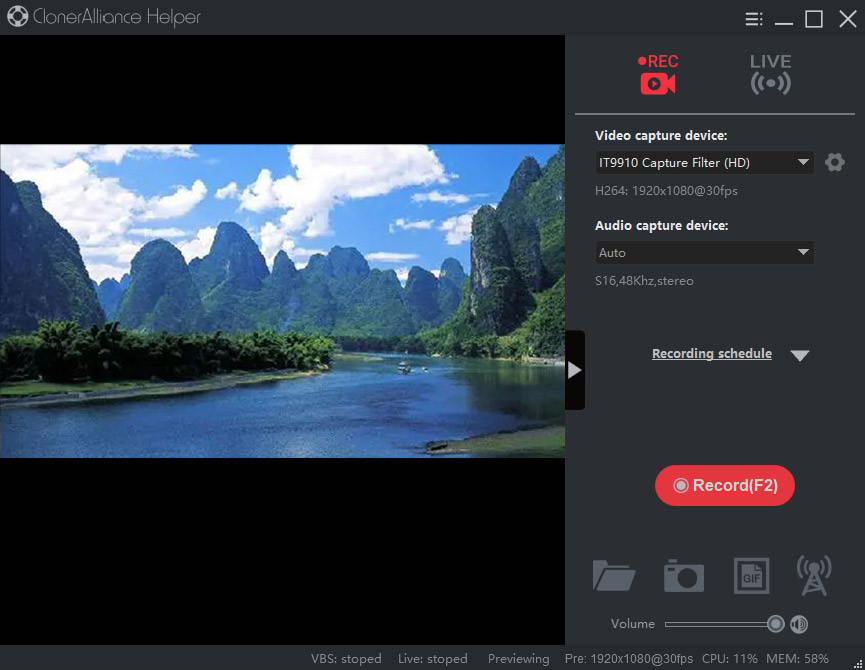
Start ClonerAlliance Helper, switch to the Record function, and turn on a camera. The camera resolution is recommended to be set to the highest and the frame rate is set to 30.

- Set the recording resolution to 4K.
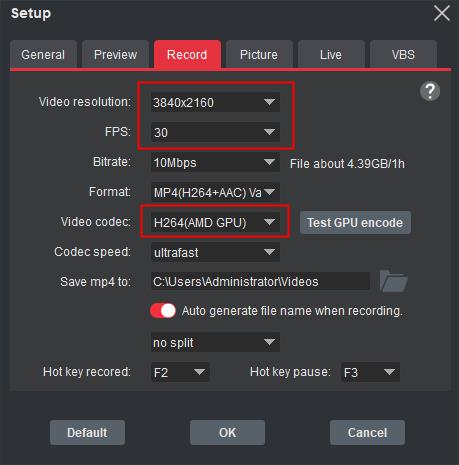
Click on the “Main menu” button on the top right corner of the software and open the “Setup” window. Click the “Record” tab, modify the recording resolution and frame rate to 3840x2160 and 30fps.
Click “Test GPU encoder”, select CUDA or AMD GPU encoder. If no GPU encoder is found, choose “H.264 (software)” encoder and click “OK”.

- Start recording video.
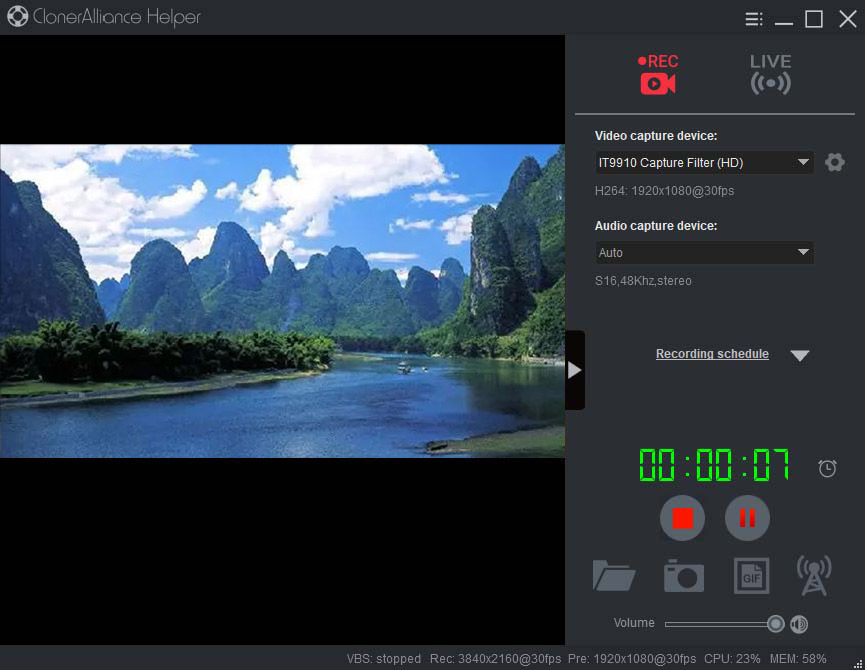
Click the “Record” button to start recording video. After recording, you can view the recorded videos in the Files Manager window.

Using Tips
If you find that the recorded video playback is stuck, it means that the computer performance is not adequate, and a computer with a higher configuration is required. A desktop computer with i5 or above CPU is recommended.
If a discrete graphics card of NVIDIA or AMD brand is installed, it is recommended to use a GPU encoder, which can greatly improve the encoding quality.
